Showing posts with label Centerpiece and Decor. Show all posts

Champagne and Pink Baby Shower

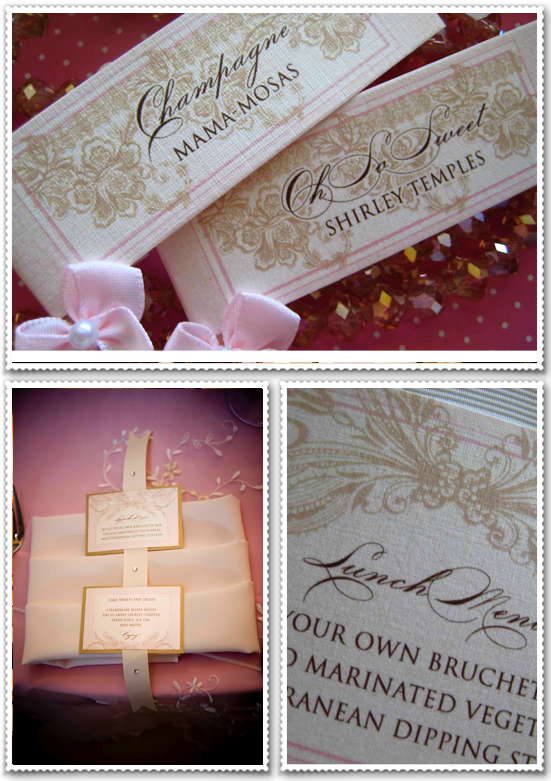
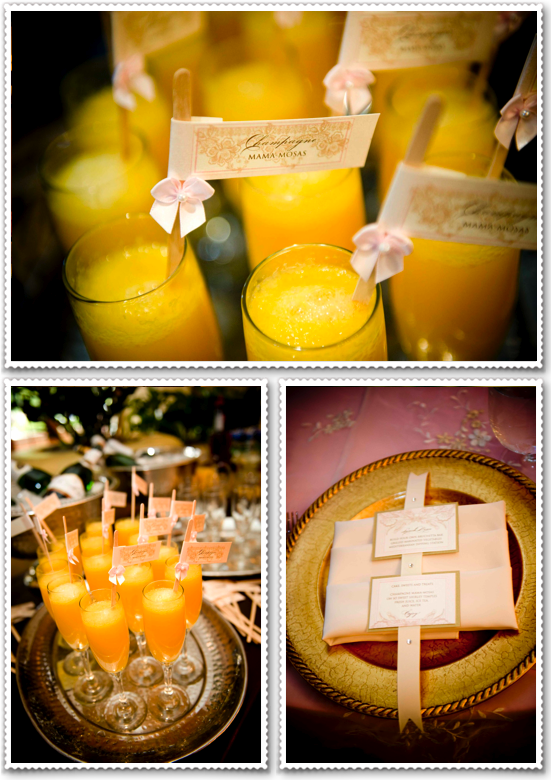
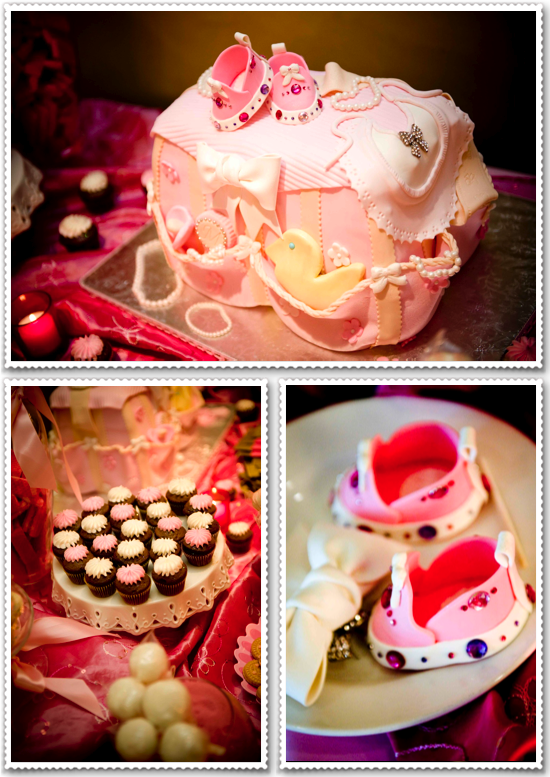
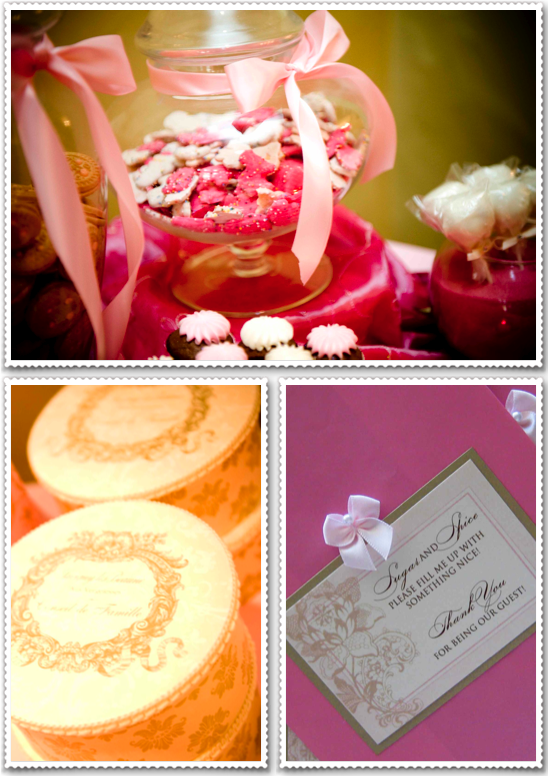
I thought I would include some more pictures of my above and beyond incredibly wonderful baby shower last month.  I just couldn't resist bragging a little about how wonderful it was to spend the day with my amazing family and friends!! :)
Picture 3

Picture 5

Picture 4

Picture 6

Picture 7

Picture 8

Picture 9

And once again - photography by the uber talented Shelly Ivy from Ivy Studios!

My Baby Shower Sneak Peek

Picture 4
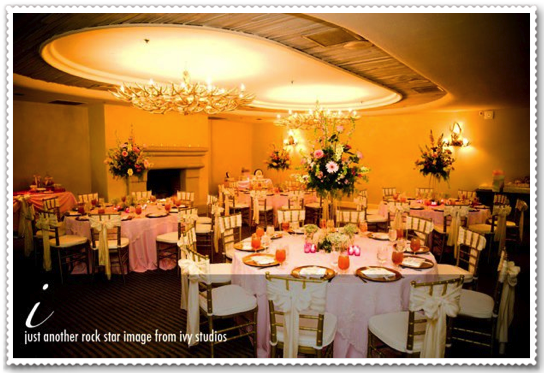
The decor and room were more amazing than ever!!
Picture 5
Look at the most amazing group of friends and family!
Picture 6
Of course I had to have a little fun while it showed at my shower!

Picture 7
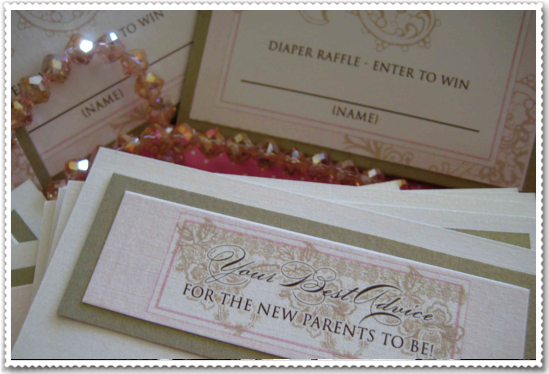
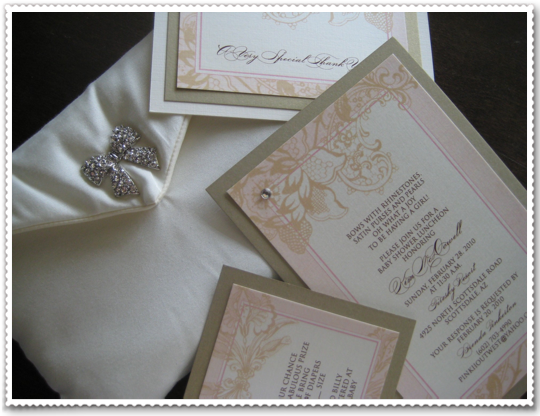
My shower invitations :) :) :)
All I can say is "WOW!" Yesterday was one above and beyond the most amazing baby shower celebrations a new mom-to-be could have ever asked for. I was overwhelmed by the generosity of my friends and family. Just sharing the time with them was incredibly amazing to me!! I'm actually speechless at the moment for what to say because it was better than I could have ever imagined!! So as I take the next few days to pack her room away, I'll just leave you with these few teaser pictures that I received last night from the Rockstar Shelly Ivy from Ivy Studios Photography !!!!! More to come on my wonderful details and a super funny story that put me in tears at my shower :) Good tears :) Funny tears!!
But first, I must thank the amazing vendors who participated in making this day sooooooo beautiful!!
Miss spectacular Lynn at the wonderful Firesky Resort and Spa
Miss Shawna and her amazingly talented husband Kevin at Your Event Florist
Miss creative planner Regina at Meant2Be Events
Miss glamorous Ginia with Y-Knot Party Rentals
Miss fabulous Laurie with Southwick Linens
Miss oh-so-sweet and Carol from Sugar Buzz Cakes
Miss fantastic PJ with La Dolce Pesca

Thank you! Thank you! Thank you! Thank you! Thank you! Thank you! And THANK YOU!!!!!

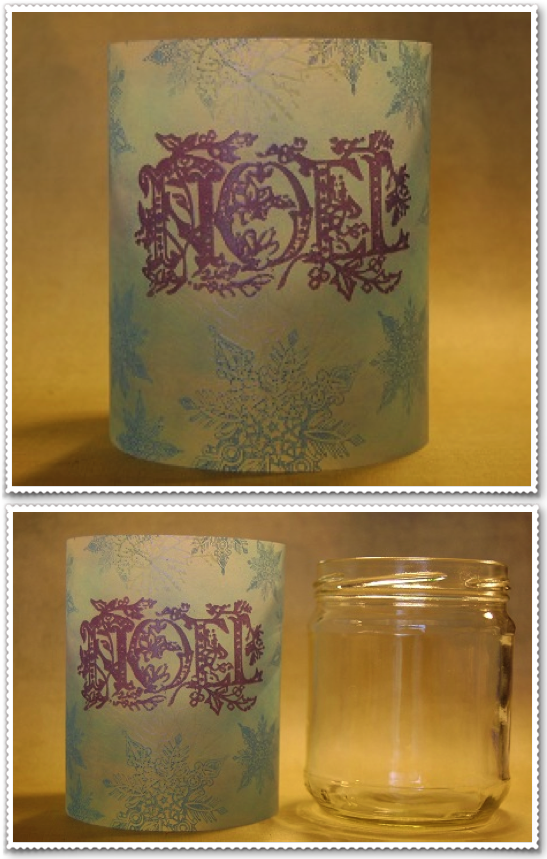
{Paper Love Crafts} Vellum Candle Covers

Vellum Candle Covers

This candle cover project can take any plain candle, votive, and make it work for any season, no need to buy expensive candles for each and every occasion. This project even works as a luminary. All it takes is some basic supplies and some vellum.

Materials needed:

• Vellum paper
• Dye ink pads in two or three different coordinating colors
• Pigment Ink
• Chalk Ink
• Rubber stamps
• Embossing Powders in coordinating colors
• Double sided adhesive
• Candle or votive to be covered
• Flame Free
• Ranger Blending Tool
• Heat Gun

Assembly instructions found on BellaOnline.com - Check them out :)
Thanks for the adorable article and photos!!

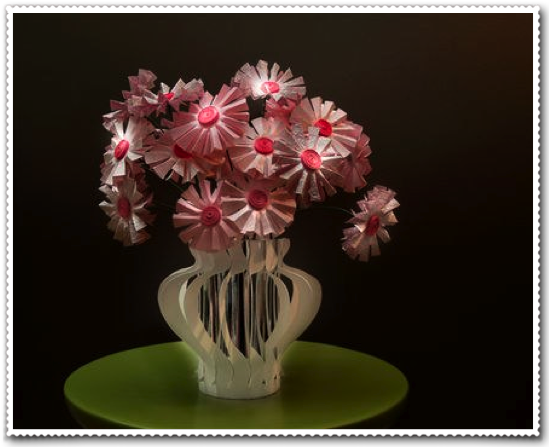
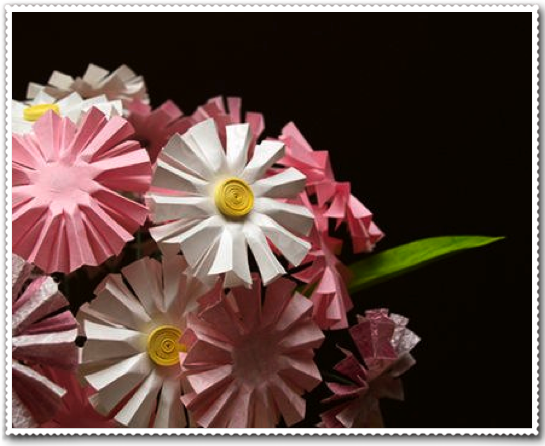
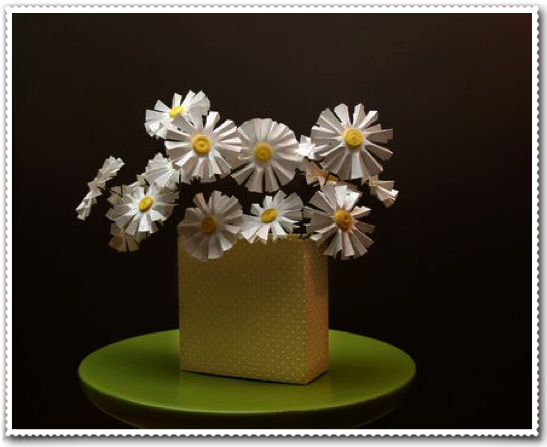
{Paper Love Crafts} Perfect Paper Daisies

Pink Paper Daisies
Paper Daisies
White Paper Daisies

Supplies

1. Paper (I used pieces from my paper scraps pile: textured and smooth pink and white-on-white, as well as long, narrow, strips for the flower centers)

2. Hot glue gun with glue sticks

3. A craft knife

4. A circle template (I used an upside-down drinking glass)

5. Floral wire and green floral tape for making the daisy stems

For instructions on how to create these fabulously cute flowers, check out craftstylish.com.

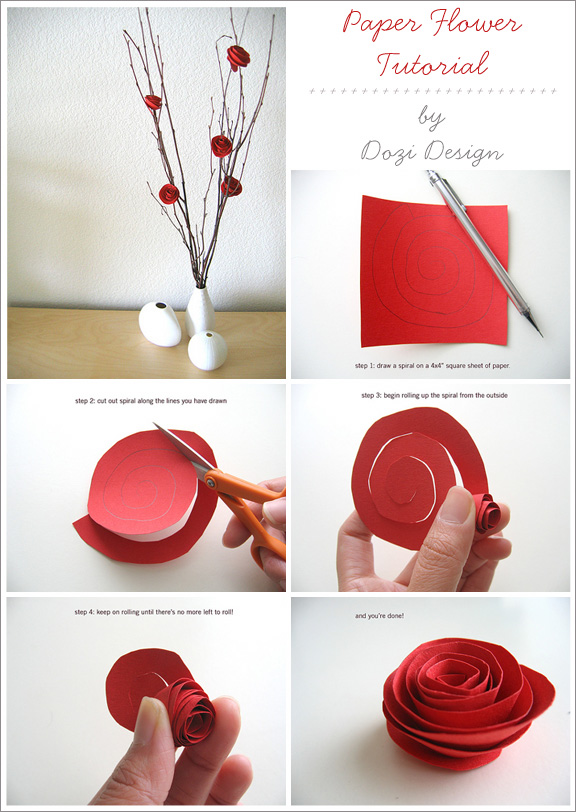
{Paper Love Crafts} Cute Paper Flowers

Super Cute Paper Flowers

{DETAILS}

1. Draw a spiral on a 4x4" square sheet of paper
2. Cut out spiral along the lines you have drawn
3. Begin rolling up the spiral from the outside
4. Keep on rolling until there is no more left to roll
5. You're done.


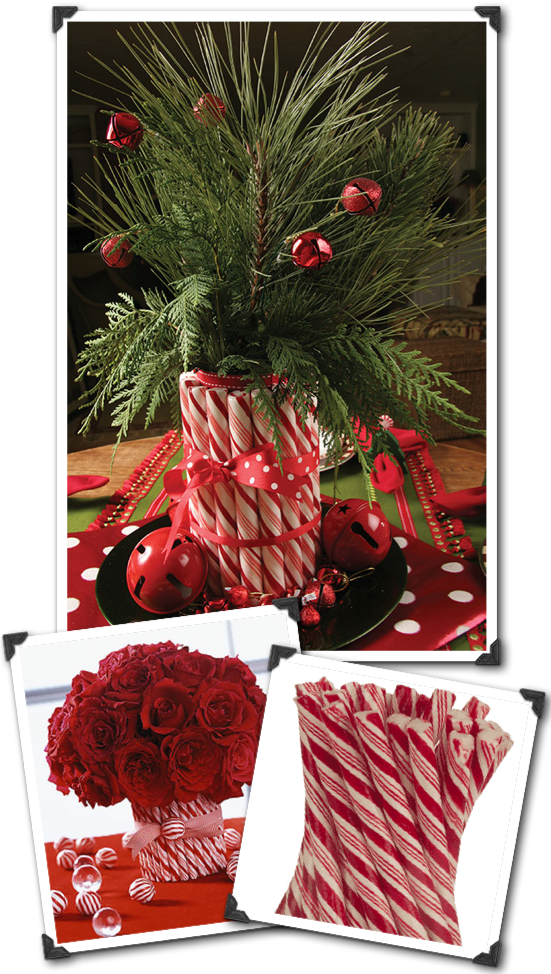
{Holiday Crafts} Candy Cane Vase

Picture 3

I am always looking for great affordable way to incorporate the holiday into my dinner table. I love this project because candy canes just scream Christmas. This vase is perfect for slipping fresh cut flowers or even a potted amaryllis into. You can make it to any size you want. I used

those regular size candy canes in my vase craft project, but if you needed a really big pot or vase you could use those great big candy can sticks that are about a foot tall.

You should be able to make this beautiful centerpiece for less than $10. You can really vase money buy using an existing glass jar or terra cotta pot instead of running out and buying one. You can easily pop the hot glue of when Christmas is over and use your vase again!

My favorite part about this craft project is that once the Christmas Holiday so over you can pop the candy canes off and eat them since they’re never taken out of their clear plastic wrappers!

To Make a Candy Cane Vase For Christmas You Will Need:

  • A Couple Boxes of Candy Canes (Leave them in their Plastic Wrappers)
  • A Glass Jar or Plant Pot (Whatever size you need)
  • Hot Glue
  • Large Red velvet Ribbon (You can use any color you want!)

Now, to save money I used an empty spaghetti jar. It was the perfect size for my cut flowers. You could easily make this with a small terra cotta pot or an empty glass vase as well.

Start by running a bead of hot glue along the stem of your candy cane. Place it onto the glass jar. I like to place mine so that the hook of the candy cane is at the top of the glass jar and facing out. You can change that up if you want. This craft project would look really neat with the candy canes upside down with the hooks facing out. It would make the bottom look more substantial.

Work your way around the glass jar attaching each candy cane as close to the next one as possible. Once you have finished you can move on to the next step.

Cut your Christmas themed ribbon to size. I like to cut the ends at and angle so that they look finished and professional. Tie the ribbon around the glass jar covered in candy canes. Now that was simple!

Instructions found on: www.associatedcontent.com

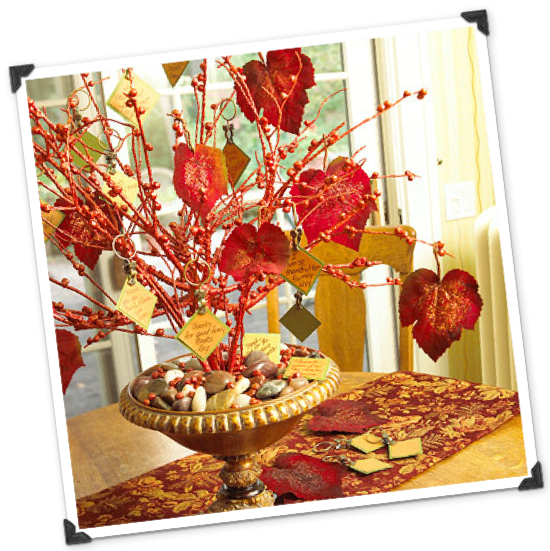
{Holiday Entertaining} Tree of Thanks

Picture 2

What you need:
  • Tree branch
  • Handheld hedge clippers
  • Butter tub
  • Cement
  • Water
  • Disposable container
  • Hot-glue gun and glue sticks
  • Chickpeas or dried beans
  • Spray primer
  • Orange spray paint
  • Clear spray sealer
  • Orange glitter
  • Scissors
  • Decorative container
  • Decorative rocks and silk leaves
  • Papers in green and gold
  • Paper trimmer
  • Glue
  • Marking pen
  • Shower curtain clips

How to Make It:

Trim a dry dead branch to the desired size and shape using hedge clippers. If needed, combine several small branches.

Choose a container, such as a butter tub, that can be hidden in a decorative container and filled with cement.

Following the instructions on the cement package, mix cement in a separate disposable container. Pour the cement into the butter tub.

Insert the branch base into the center of the cement-filled tub. Tap the sides of the tub until the branch sits firmly in cement. Allow cement to dry.

Use a hot-glue gun to adhere chickpeas or dried beans randomly to the branch, using as many as desired.

In an outdoor area, spray the branch with primer. Spread extra chickpeas on newspaper and spray them with primer. Let the primer dry.

Spray-paint the branch and chickpeas with orange; let dry.

Spray one section at a time with clear sealer. Quickly sprinkle orange glitter onto wet sealer; let dry. Repeat this process until entire branch and chickpeas are glittered. Place the weighted tree into decorative container.

Place decorative rocks around the branch base until the cement is covered. Sprinkle extra chickpeas onto the rocks.

Trim silk leaves from stems. Coil the wired ends and hang on the tree.

Trim 2-inch squares of green paper and 13D4-inch squares of gold paper. Center and glue the gold paper onto the green paper. Ask family members to use a marking pen to write meaningful messages on the squares. Use shower curtain clips to hang the messages from the branches.

Leave extra colored squares around the tree base for guests to add more messages to the tree.
Thank you Better Homes and Garden for this wonderful idea!

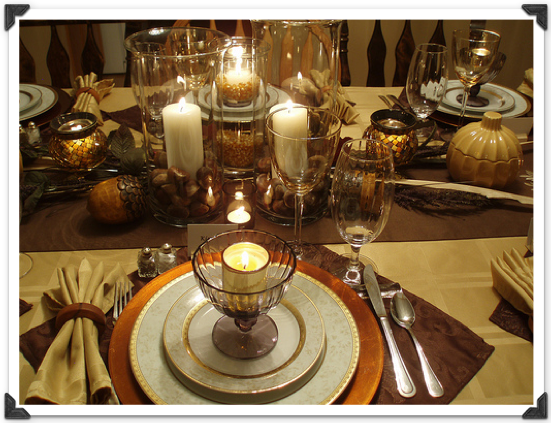
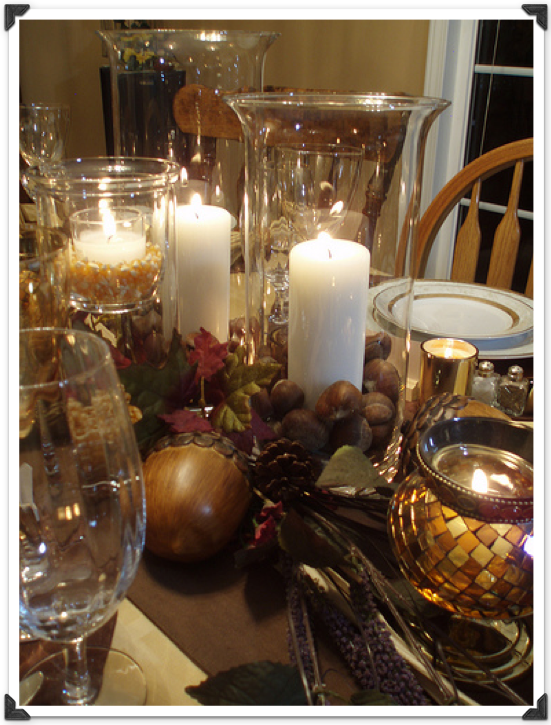
{Holiday Entertaining} Thanksgiving Tablescape

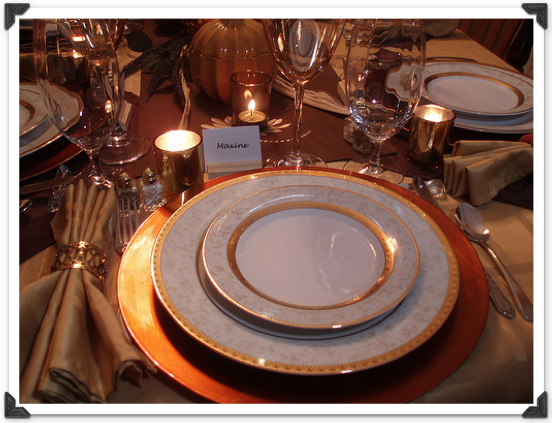
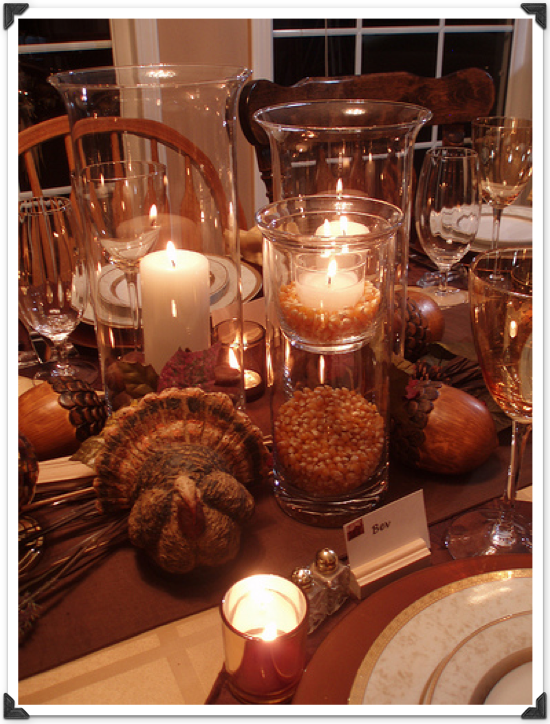
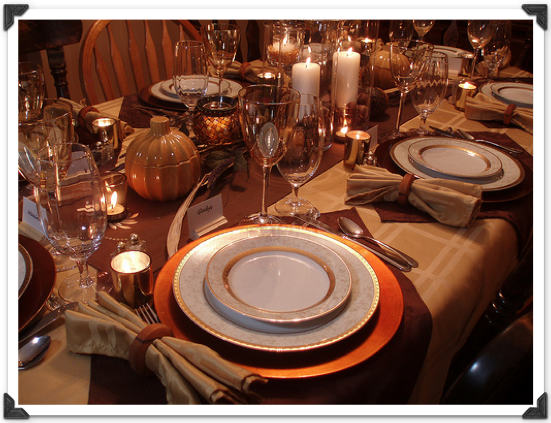
As I was sitting here today preparing my menu for Thanksgiving next week, I was also thinking about how I was going to tablescape our dining and buffet tables. So I went out on the search for some inspiration and ran across these beautiful pictures found on the Dining Delight blog.  They are absolutely stunning! And the blog has many, many more fantastic decorating and tablescape ideas.  I think I'm going to try the popcorn candles!  What do you think?  How are you decorating your tables?

Picture 6

Picture 4

Picture 5

Picture 2

Picture 3